I have built countless RC models, from kits, plans and even my own scratch designs. For the most part, building an RC model is a lot easier than most beginners might think. If you have assembled a few ARFs in the past however, you’ll have the basic knowledge of how things go together so by choosing a simpler design to start with, you’ll do just fine. Just don’t start with a B-17 bomber of a P-51 Mustang!
The Basics
Here are some of the basics to keep in mind while setting up your workbench. Keep it straight. In my workshop I use two interior grade hollow-core doors from the home-improvement store, and made the legs and edge bracing using 2x4s and 1×4 boards all screwed together. Placed end to end, I have one long 16 x 3 1/2 foot wide work surface. A good working height for most benches is usually between 32 and 36 inches. But you can make your workbench as long and as high as you like, just keep it level and well lit. Some of my friends prefer a workbench placed in the center of their workshop so they have access to their project from all around. My setup has the big workbench up against a wall with a shorter bench on the opposite wall. I also have a smaller but sturdier work table for my heavy tools like my drill press, and bench grinder.
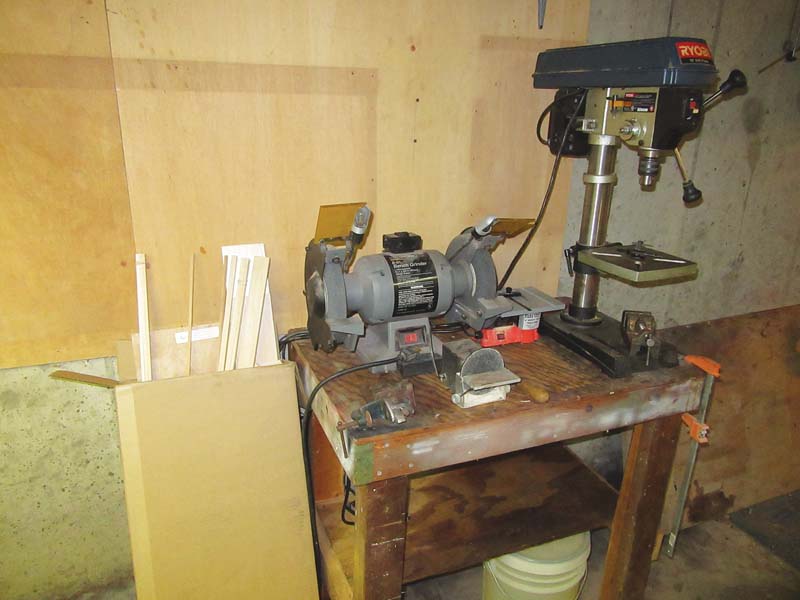
Separate from my workbench I have my heavier tools on top of a small heavy duty table.

A couple of free standing shelving units will help organized your hardware and supplies.
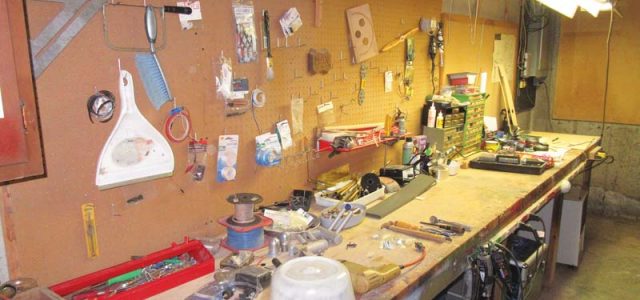
Organization. I try to keep things organized in my workshop with shelves and a roll-around shop tool box. I keep supplies such as adhesives, paints, hardware and other items together so they are easy to find when needed. I also have wall shelves and peg-board over my workbenches for quick access to often used tools and supplies. Keeping thing need and well organized saves a lot of time and also I minimize hangar rash by keeping loose parts like screws and small hand tools in trays so the model does not get dented or damaged when place over them. Favorite Tools. Most people have a collection of tools for use around the house, but there are some basic specialty tools you’ll need to build model airplanes. Here are some of the tools and supplies I would be lost without.
Here is my shorter second work bench across from the main bench. I have a tool shelf attached to the wall about it. Here is my current project a vintage Midwest Products AT-6 Texan kit. Notice I have an elevated cork covered building board on top of the bench.
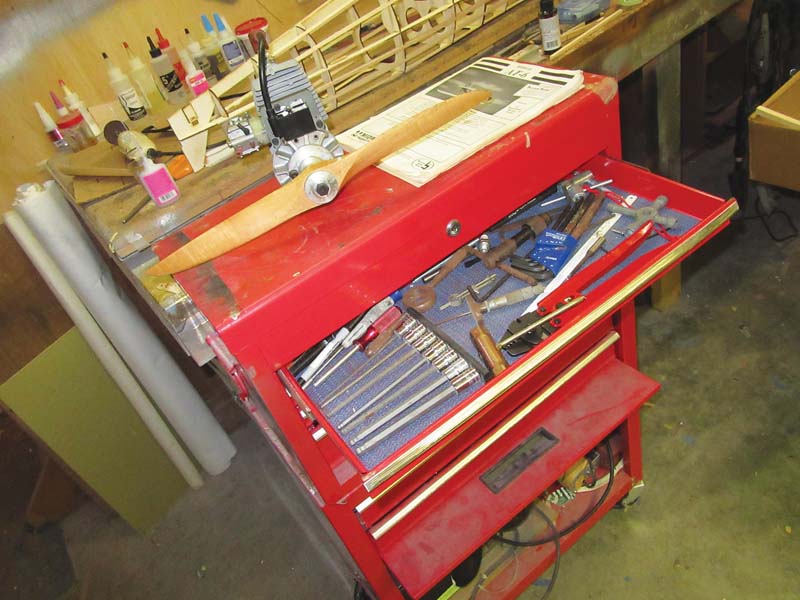
A roll-around shop toolbox is great for staying organized and finding your tools quickly.
• A rotary tool like a Dremel Moto-Tool for grinding, sanding and cutting (with a fiber cutoff disc) wood, metal and fiberglass parts precisely. • A standard 3/8-inch electric power drill and a set of standard size drill bits. Great for drilling holes in plywood parts like a firewall or landing gear attachment mount blocks • Hobby knives and blades, razor planes and razor saws. X-Acto knives are great for cutting balsa sheet, while the plane is great for shaping balsa blocks. When it comes to spars and longerons or other stick stock parts, a razor saw does the job quicker and easier than trying to cut with a hobby knife. • Metal straight-edge rulers and carpenter squares for aligning formers, cutting long pieces of wood and aligning tail surfaces and wings. • Drill press with a machinist vice is ideal for precisely drilling metal, and plywood parts. The vice is also handy for holding parts to be cut or soldered. • A collection of sandpaper, and sanding bars or blocks. Grits from 80, 100, 150, 220 and 320 will come in very handy. You can use spray adhesive to stick sandpaper to blocks and sticks for specific sanding jobs. • C-clamps and spring clamps will pay for themselves quickly while epoxying parts together. Clothespins are also very handy. • Adhesives like 5 minute and 15 minute epoxy and CA glue like Zap in various thicknesses (thin, medium and thick) along with some accelerator, is absolutely required to build any model airplane.
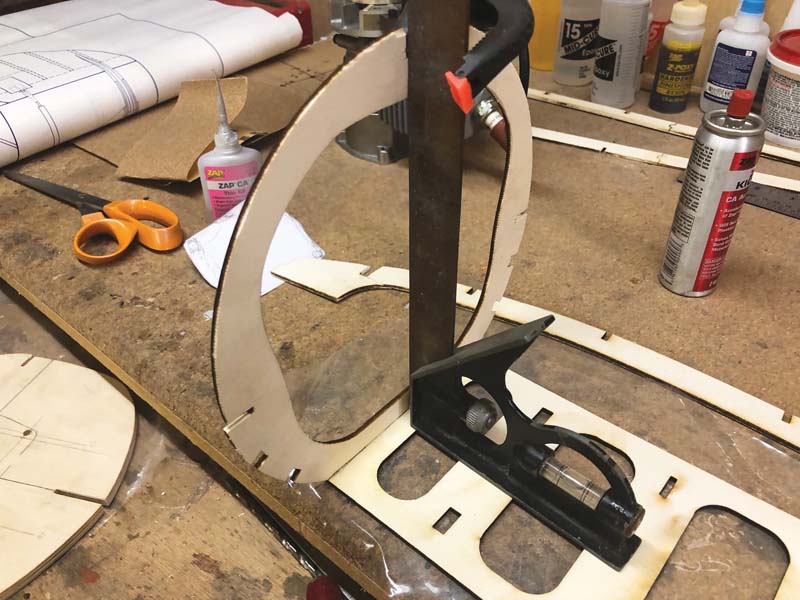
To build a true model airplane, your parts need to be properly aligned before they are glued together. I use a square to keep the formers square and true.
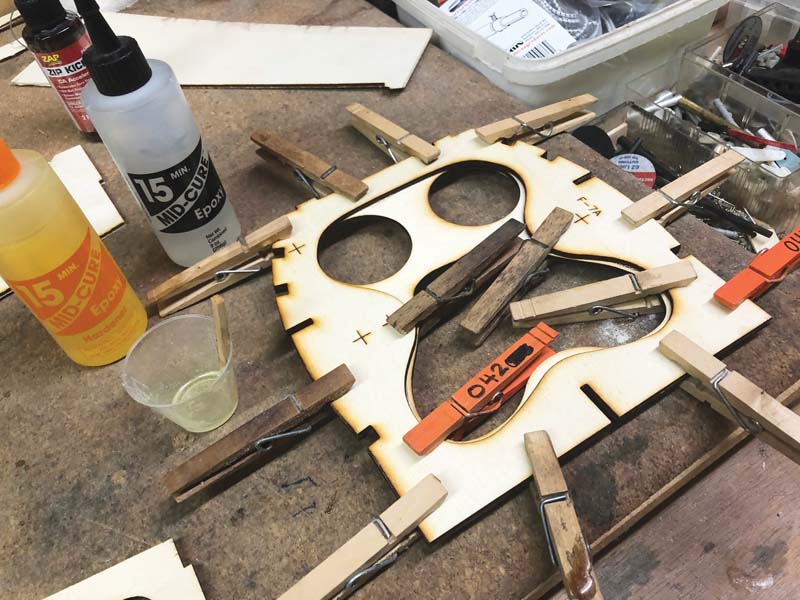
The cheapest clamps you can get are clothes pins, ideal for laminating parts together.
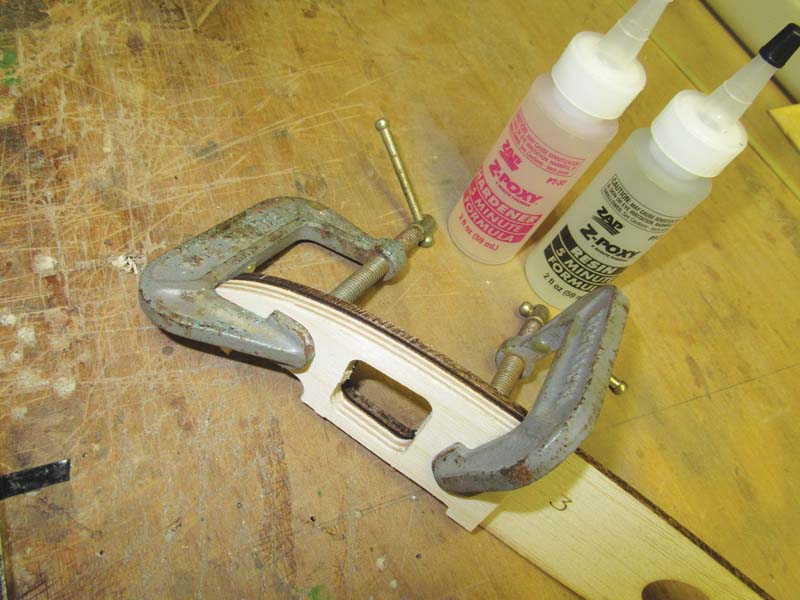
For epoxying parts together, C-clamps are hard to beat for holding the parts together while the glue cures.
So overall, you get the idea. A well organized, well stocked and properly lit workshop will greatly improved your modeling efforts. Make the job at hand as easy as possible by using the right tools, and make sure all your parts fit precisely together before gluing them together. Plus having a specific place to work in will keep dust and clutter out of the rest of your home or apartment. Everyone will be happy. Text & Photos by Gerry Yarrish